Windows icons
Introduction
Icons tend to have multiple pages (also called formats or images) that represent the same concept in different sizes. When the icon is about to be displayed, the operating system selects one of these pages based on desired icon size. If an exact match cannot be obtained, the OS selects a close match and performs down- or upscaling.
The most important icon sizes are 16x16, 32x32, 48x48 and 256x256, but 24x24, 64x64 and 96x96 are also common. In fact, icon pages may have any size between 1 and 256.
Sometimes, but not always, the smaller icon pages are simply downscaled versions of the 256x256 one. But the original image can lose detail at 16x16 or even 32x32 size. In this case, these pages are redrawn to emphasize important visual cues. For example, the 256x256 page can be a 3d rendering of an object while the 16x16 one is a flat 2d version with pronounced contours, no perspective and no shadow.
In the past, icon pages were also distinguished by color depths because not all graphic cards supported 32-bit rendering. These black-and-white, 16-color or 256-color icon formats are largely obsolete today but GFIE still supports them.
Easy icon creation
- Open your existing image file.
- Should it have multiple pages or frames, select the desired page and frame.
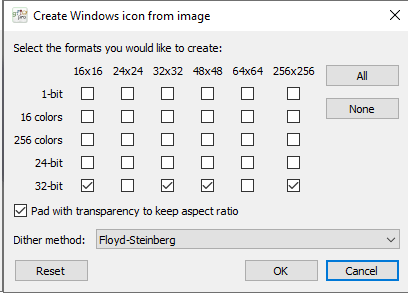
- Choose the menu item Icon | Create Windows icon from image (Ctrl+Shift+I) and check the boxes corresponding to the formats you want to create. Then click OK.
- If Pad with transparency is checked, non-square images will be first padded to square and then resized to the target size.
- If it is unchecked, the source image will be stretched to the target size which causes distortion for non-square images.
- Dither method only matters if you select some non-32-bit formats. It defines how the original pixel colors are approximated with the reduced palette.
Testing your icon
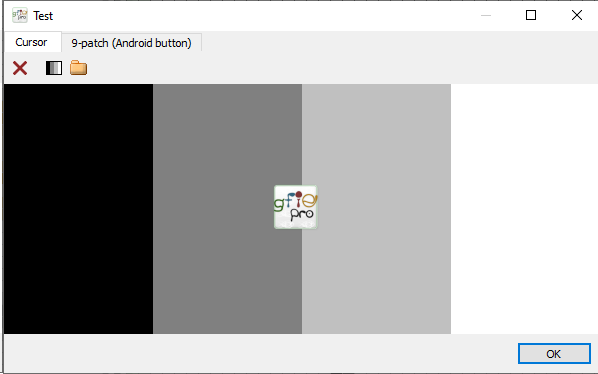
Select the page you want to test in the list box on the left of the editor. Then choose Icon | Test (Ctrl+Shift+T) or press  on the toolbar above the image editor panel.
Move the cursor over the image displayed in the popup window to see how the icon looks over different shades of gray. You can also load another more interesting background with the  button.
A word on color depths
Greenfish Icon Editor Pro displays the color depth of a page in the page list box, such as 16 colors or 32-bit.

The color depth is automatically detected from image contents. The lowest color depth is selected than can represent the given page.
- For example, if the page is fully transparent then 1-bit is displayed.
- If the page has any partially transparent pixel then 32-bit is displayed.
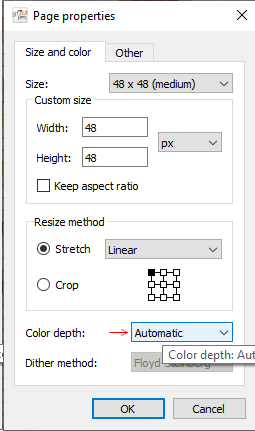
You can set the color depth manually by double-clicking a page in the page list box, or choosing Pages | Page properties. However, if your drawing cannot be represented in the selected color depth (e.g. you set 16 colors but then you draw with a non-standard color on the image), GFIE will revert to automatic color depth detection and you will see a higher color depth displayed for that page.
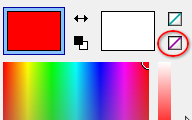
Contrary to cursors, icons do not support the  inverted color. You can save an .ico file with inverted areas but the icon will not invert its background when displayed by Windows.
← Index